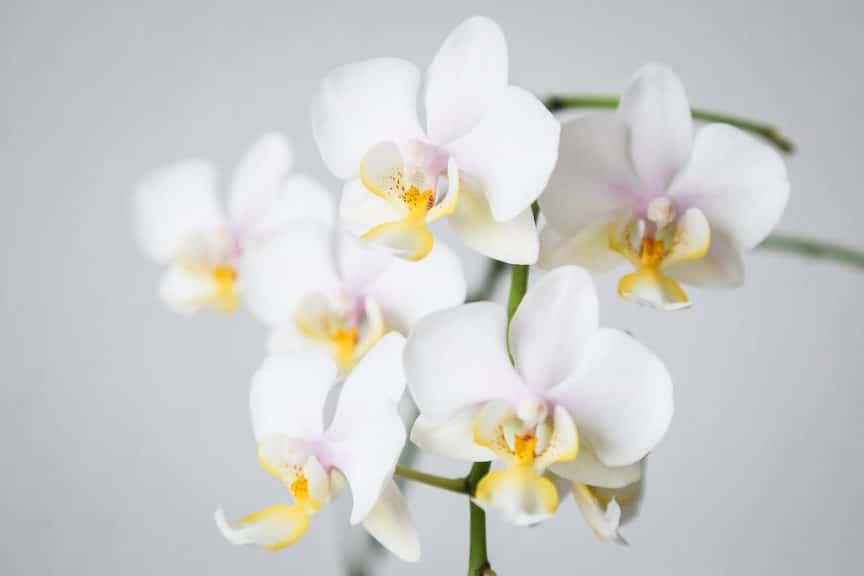
Orchids are a hugely popular houseplant, and for very good reasons. Their flowers are stunning and they grow really well in indoor climates. Many people assume that such a delicate and beautiful plant must be hard to care for.
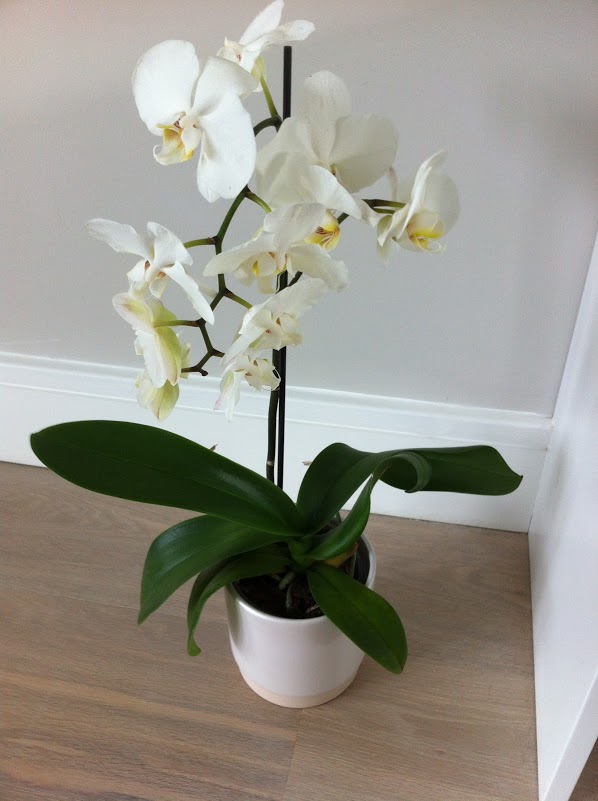
In fact, the opposite is true. Many orchids are really easy to care for. This article is going to discuss my favorite type, and one of the most popular varieties, the Phalaenopsis or Moth Orchid
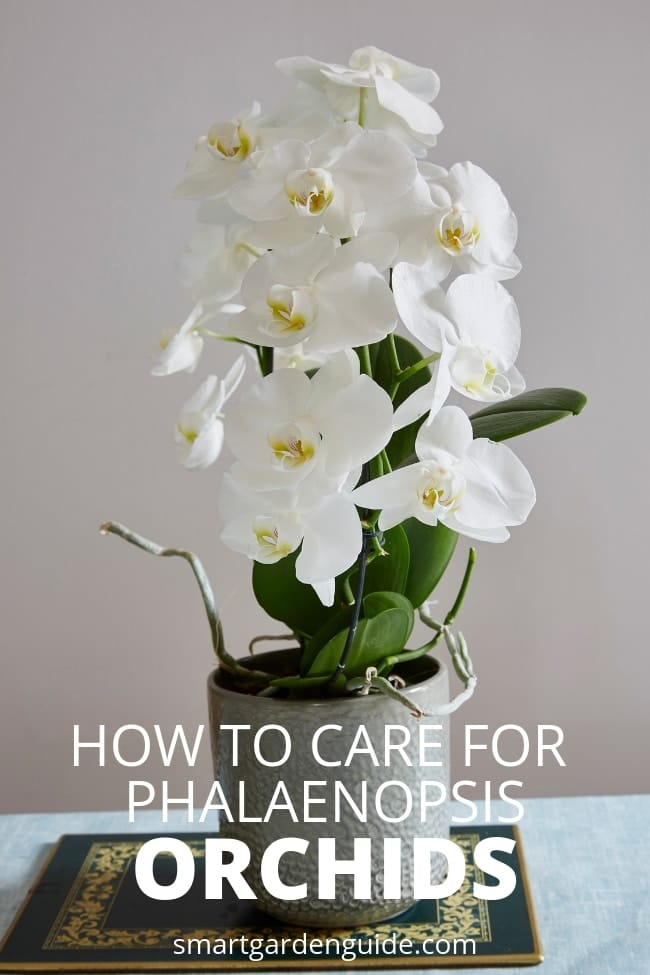
Phalaenopsis orchids are available everywhere you look. Most garden centers and many larger grocery stores will have a selection of these fantastic plants available to buy for really affordable prices. They are a wonderful alternative to a bunch of flowers to brighten up your home, as the flowers last for months at a time, and the plants can be kept for years, re-flowering many many times.
Basic Phalaenopsis Orchid Care Instructions
First, here is a summary of phalaenopsis orchid care for beginners. Follow these basic tips, and you are well on the way to providing good phalaenopsis orchid care.
- Place your orchid in a bright room, but not in direct sunlight
- Water the orchid infrequently, being guided by the plant, rather than watering on a schedule. Many more orchids die from over-watering than under-watering.
- Only water the roots. Keep the flowers and leaves dry.
- Use a well draining pot and growing media and never let your orchid sit in water for more than a few minutes.
- Keep the orchid after it has flowered. They are easy to care for in the vegetative stage and will flower many times if treated well.
- Use a water soluble fertilizer. Fertilize every 1-2 weeks, but not during the flowering phase. A good strategy is to use a weak fertilizer solution on a weekly basis, rather than using a stronger solution less often.
How To Pick A Good Phalaenopsis Orchid
There are a number of easy tips to follow to pick a healthy orchid that will flower for months after you buy it and that you can enjoy and look after for a long time after this if you wish.
Healthy Phalaenopsis Orchids Should Have Bright Green Leaves
The leaves will tell you a lot about the overall health of the orchid. When looking for a good orchid to pick from the store, the leaves should be bright, and a vibrant deep green color.
Sometimes you’ll see the bottom few leaves can be yellow or withered, but this is not necessarily a bad thing. It is normal for an orchid to prioritize the health of the top and younger leaves, so if there is some die back of the lower leaves, this is nothing to worry about.
If on the other hand, the leaves have multiple yellow or brown patches, this could be a sign of under or over watering, a sign of disease or nutrient deficiency. If this is the case, it is probably best to opt for another plant. See my article on yellow leaves in orchids for more information.
Check The Phalaenopsis Orchid For Healthy Roots
Healthy roots are very important for most plants, and orchids are no exception. In fact, the roots of an orchid will tell you more about its health than most plants.
Orchids should ideally be planted in clear pots, to ensure that th roots have access to good amounts of light. Therefore, you should be able to get a good look at the roots of the plant you are going to buy.
Healthy phalaenopsis orchid roots should be thick and firm to touch. They can be a range of colors, including white, silver, green, or pale yellow. Black or brown roots that feel soft and mushy are usually a sign of over watering or disease. Gray, flaky roots normally indicate a dehydrated plant.
You should definitely lift the orchid plant and inspect the roots through the sides of the plant pot to make sure they look vibrant and healthy.
A Strong Stem Is Essential For A Phalaenopsis Orchid
Phalaenopsis orchids usually have one or two flower stems at a time. They can often have numerous flowers on them, which requires the stem to be strong to support them.
You should look for a plant with a strong and sturdy stem, which looks like it is easily supporting the weight of the flowers and buds. The last thing you want is for your flower stem to break, as this will be the end of your flowers, until the plant reblooms many months later.
Assess The Flowers And Buds Of The Orchid
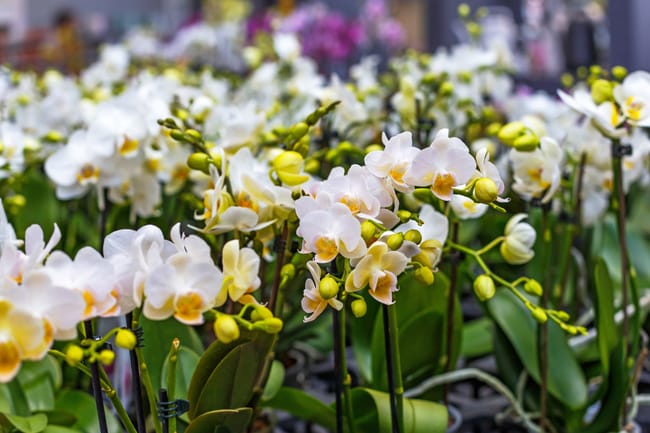
If you are buying a phalaenosis orchid to enjoy immediately, it is usually best to buy one that is not yet in full bloom. It is a good idea to pick one with a long flower stem, but with only a few flowers out, and lots of buds waiting to develop.
As phalaenopsis orchids usually flower for several months, if you pick one at the start of its flowering phase, you can enjoy a long period of beautiful flowers from the day you purchase your orchid.
Phalaenopsis Orchid Care Tips

Light Requirements For Phalaenopsis Orchid Care
Phalaenopsis orchids generally like a bright location to grow, but don’t do well in direct sunlight. In nature, they grow attached to the trunks of large trees, below the leaf canopy, so they are familiar with bright, but indirect light, that passes through the canopy.
If you wish to place your orchid on a windowsill, it is best to put it in a west or east facing window. As I live in a higher latitude, I will move my orchids to a south facing window in the winter, to ensure that they receive enough sunlight.
You can also achieve good phalaenopsis orchid care in indoor spaces away from windows, as long as there is a good source of light, either natural or artificial, to ensure that the plant gets sufficient light. I’ve got a good article here about growing plants without sunlight.
If you notice the leaves of your orchid becoming deeper green in color, this may be a sign of it getting insufficient light. Alternatively, yellowing leaves or brown or yellow spots on the leaves may indicate excessive light or burning of the leaves due to excessive direct sunlight.
Temperature Range For Phalaenopsis Orchid Care
Phalaenopsis Orchids are ideally suited to indoor temperatures. They will generally thrive at temperatures of between 63 and 84 °F (17 to 29 °C), although it is generally better to provide a temperature in the middle of this range. Orchids generally like it to be slightly cooler at night than during the day and they particularly dislike drafts and rapid changes in the temperature.
Humidity Needs Of Phalaenopsis Orchids
Phalaenopsis orchids live in very humid conditions in nature. Therefore, they will thrive best in a more humid indoor environment. This can make it more difficult to grow orchids in centrally heated homes in the winter, where the air will be much drier than is ideal. Most phalaenopsis orchids like humidity levels of between 50 and 100%. therefore, it is generally a good idea to aim for a humidity level of 50 to 60%, as this will be a good compromise between what is good for your orchids and what is good for you.
Watering Tips For Phalaenopsis Orchids
There are quite a number of aspects of the watering of phalaenopsis orchids that are particularly important.
Don’t Water The Leaves And Flowers Of Your Orchids
You should only water the roots of your orchid, as getting the leaves and flowers of your orchids wet can lead to all kinds of problems. If you pour water onto your orchid from above, you are likely to leave standing water in the crown where the new leaves are growing.
If you do this repeatedly, this standing water will encourage crown rot to form which can very quickly damage your plant or even result in it dying.
If you do inadvertently get water in the crown of the plant or on the leaves, you should absorb this water with a paper towel to reduce the likelihood of crown rot.
Don’t Mist Your Phalaenopsis Orchids
Many people advise spraying your orchids with a mist of water to increase the humidity levels in the air in the direct vicinity of the orchid. This is generally not a good idea, as it is an inefficient way of increasing local humidity levels, and water will gather on the leaves and flowers.
This can lead to mold spots developing on the leaves, or more commonly on the petals of the flowers.
Should You Use Ice To Water Your Phalaenopsis Orchids?
There is a lot of conflicting advice about whether using ice to water your orchids is it good thing to do or not. It is often highlighted as a good idea, as it encourages people not over water their orchids due to the small amount of water in ice cubes. Check out this great article over at My Orchid Diary about the debate over using ice to water your orchids.
For people growing orchids in colder conditions, towards the bottom of the ideal temperature range, I don’t think it’s a great idea, as using ice to water your orchids may increase cold temperature stress for your plants.
In warmer climates, watering your orchids with ice is not going to have a significantly adverse impact. The ice will melt quickly and will not significantly impact the temperature of the roots or plant. However, in warmer climates, it is likely that your orchids will need more water, and using ice cubes may not provide sufficient hydration for your plants.
For the majority of people, I would advise using tepid water to water your orchids.
Signs Your Orchid Needs Watered
You will need to observe your individual orchid for signs that it needs watered. Here are two good methods to check whether your orchid needs watered.
- Check the weight. Either manually, or using scales, you can weigh the orchid and pot when it is dry. You will quickly know just by lifting the pot whether the plant needs watered.
- Testing the potting mix with your finger or a skewer. You can poke a finger into the soil and you will know whether the top inch or so is dry, indicating that watering is likely necessary. Alternatively, you can use a wooden skewer and carefully poke this through the potting medium to the base of the pot. If the skewer is dry when you remove it, the orchid needs watered. If it is damp, it does not.
It is more common to over water than underwater your orchid, so take care to ensure that your orchid definitely needs watered before proceeding. It is generally better to err on the side of caution and water slightly less often until you get a good feel for your orchid.
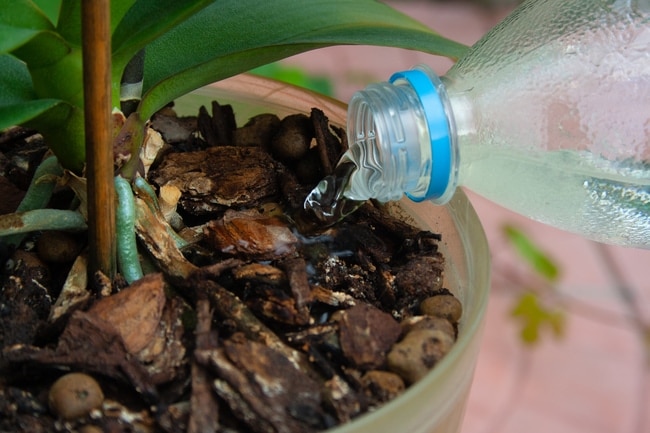
How To Water Phalaenopsis Orchids
I think the best option to water your orchids, is to submerge the pot in a few inches of water for about 5 minutes, to allow the roots time to soak up all the water they need. I do this every one to two weeks, depending on when I feel watering is required.
Orchid pots normally have multiple ventilation and drainage holes. Most people place these into more decorative pots without drainage holes. One technique to water your orchids is to water the roots, allowing the outer pot to partially fill with water. After 5 minutes, you can empty the outer pot, ensuring the inner pot is well drained, and place your orchid back in its normal location.
Another option is to place the orchid in a sink, and either pour water over the roots, or allow the pot to sit in a partly filled sink of water for 5 minutes.
I think that a thorough soaking with water on an infrequent basis seems to work better for me than watering my orchids a little bit every few days. I guess this is as you are much less likely to overwater your orchids with this technique.
Don’t Leave The Roots Of Your Phalaenopsis Orchid Standing In Water
After you have watered your orchid, it is really important to make sure that the plant is well drained before placing it back on display, and to ensure that the roots are not left standing in water for long. The roots won’t tolerate this and can result in root rot if you do.
Fertilizing A Phalaenopsis Orchid
A healthy orchid will benefit greatly from added fertilizer, but adding fertilizer won’t fix most problems with an unhealthy orchid.
You should only use a fertilizer that has been formulated specifically for orchids. This is due to orchids being quite different from many other plants. I would recommend using a reduced strength of fertilizer, but using it on a more frequent basis, rather than using full strength less often.
This is mainly due to the nature of the growth medium. Orchids are often grown in bark or a combination of bark, sphagnum moss, perlite etc. These will not hold moisture and nutrients as well as soil, so regular application, of immediately bioavailable nutrients will be most beneficial for your orchids.
Reduced strength formulations can be purchased directly, or you can dilute stronger fertilizers more than the recommended amount.
Orchid specific fertilizer will also contain a range of micronutrients which orchids would not otherwise have access to, due to growing in fairly inert and fast draining media.
Fertilizing Schedule For Phalaenopsis Orchids
Orchids generally don’t need much, if any fertilizer during their blooming phase. It is during the vegetative phase of orchid growth that fertilizer is really needed, to give the plant the energy to start growing a new stem, buds and flowers.
During the flowering phase, I don’t fertilize my orchids at all. I just water them as needed. During the vegetative phase, I normally fertilize my orchids once every two weeks with a weak solution of soluble orchid fertilizer, or once every 3-4 weeks in colder months.
I always water my orchids at least once in between applications of fertilizer, to ensure there is no build up of fertilizer in the growing medium.
I like to use a formulation which has immediately bioavailable nitrogen, rather than a urea based formulation which will release nutrients slower. I typically use a fertilizer higher in nitrogen during the vegetative phase of growth, switching to a fertilizer higher in potassium and lower in nitrogen, to promote healthy and longer lasting flowering.
Common Questions About Phalaenopsis Orchid Care
What Should I Do With Phalaenopsis Orchid Air Roots?
Many orchids will start to grow aerial roots, which project upwards and out the sides of the pot you are growing your orchid in. This is a perfectly normal feature of epiphytic plants, which are used to growing on the surface of other plants. The roots usually have to be a bit more creative in looking for nutrients and water, so aerial roots are a consequence of this.
The air roots of an orchid are an important part of the plant and help to ensure that the plant gets the nutrition it needs. The best advice is to leave them alone. Let them spill out of the pot and do their own thing. They are often quite useful for determining whether your plant needs watered.
Hydrated air roots are green and vibrant. Dehydrated air roots are light green, gray or white and look dry and feel slightly crispy. Watering the plant will lead to an immediate color change in the air roots.
What Should I Do With The Stem After The Orchid Has Finished Flowering?
It’s really tempting to cut the stem back once the orchid has finished flowering, but this isn’t a great move for the long term health of the plant. The reason is that the stem is a store of essential nutrients for the plant, like a battery, that the phalaenopsis orchid will use to sustain itself over the next few months, while it builds the energy to flower again.
Many people feel that the best option is to cut the stem part way up, above the 3rd or 4th node. This leaves a long section of stem, and seems to encourage new growth from one of the upper nodes on the stem.
If you don’t like the look of the bare stem, you can always place the orchid in a less visible location of your house. I do this with most of my orchids. I have a recovery room, that all my non-flowering orchids hang out, and then I move them to areas on display once they start flowering.
Having said this, orchids usually don’t enjoy sudden changes in their climates, so it you don’t mind too much, you are best finding a location that your orchid loves and keeping it there, rather than moving it all round your house.
How Do You Get A Phalaenopsis Orchid To Rebloom?
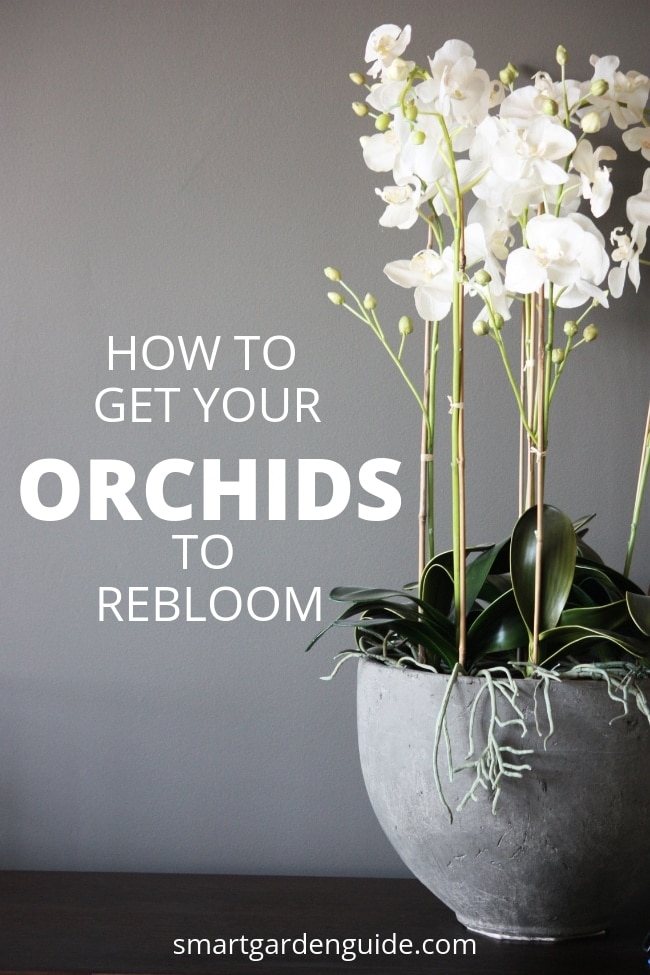
Whatever you do, don’t mistake an orchid that has finished blooming for a dead orchid. Orchids live for many years, and will bloom again and again if treated the right way. It’s hugely rewarding to care for your orchid for months and then one day you will notice the early stages of a new stem or new buds developing, and you can watch the progress day by day, until you have another spectacular blooming orchid.
After a phalaenopsis orchid has bloomed, it will enter a period of dormancy. It is at this point that a little more effort is required to care for your orchid. During the flowering phase, all you have to do is water it every so often and enjoy the splendour of a spectacular plant.
Once the flowers are gone, you can do a few things to ensure that the plant will flower again in the future.
Put Your Orchid In A Bright Window
Good light conditions are essential to give an orchid sufficient energy to stimulate reblooming. Put your orchid in a bright window, ideally south or east facing, with plenty of indirect sunlight.
Temperature Variation Between Day And Night
To stimulate re-flowering, your phalaenopsis orchid should ideally experience a variation in the temperature between day and night. A daytime temperature of between 70-85 °F (21-29 °C) and a nighttime low of 60-70 °F (16-21 °C) is ideal.
Phalaenopsis Orchid Stem Trimming
It is likely that there will be some die back of the stem that has most recently held flowers. As mentioned previously, you shouldn’t cut this right back, but you should trim any dead parts. You will be able to count a number of notches on the stem called nodes. These are foci where new growth may take place.
I normally cut the stem above the 3rd or 4th node, depending on the height of the stem. The site of the cut often becomes the point at which a new stem or stems will grow.
Increase Humidity Levels For Your Phalaenopsis Orchid
Phalaenopsis orchids in the vegetative phase will benefit from a more humid environment than during the flowering phase. For this reason, I often place my orchids on a wide drip tray, with a small amount of water in it. As long as the roots don’t sit in the water, this will cause no issues.
The shallow pool of water will slowly evaporate, increasing the humidity of the local environment, producing a climate which is more favorable for the orchid to thrive and re-flower in.
Fertilizing Your Moth Orchid In The Vegetative Phase
As previously mentioned, the vegetative phase after flowering is the time when fertilizing is the most important. I like to ensure that I fertilize my orchids approximately every 2 weeks with a reduced strength fertilizer solution throughout this growth phase.
If you do these few simple things and have the patience to wait a few months, it won’t be long before your orchid is blooming again and you are enjoying some beautiful flowers. Check out this excellent article from Caradise for an great guide to encouraging orchids to rebloom.
How Long Does It Take For A Phalaenopsis Orchid To Rebloom?
The time between flowering phases is usually about 6-9 months. However, there is considerable variation in this timescale. A lot of it depends on how healthy the orchid is and whether the growing conditions are optimal.
How Long Do Phalaenopsis Orchids Flower For?
Phalaenopsis orchids really are amazing. Not only are they one of the most beautiful flowers to have in your home and widely available for very little cost, they also flower for ages. From initial budding, they quite commonly flower for 3-4 months, which I think is incredible.
As long as there are still buds present on the main stem, you can be reasonably well assured that the orchid will continue to flower for many weeks to come. Once all the flowers are open and there are no more buds developing, you will start to see the flowers wilt in turn, starting from those lowest down the stem.
The lowest flowers on the stem will wilt and fall off the stem within a few days, but the rest of the flowers will remain healthy. So even when the end of the flowering is in sight, you can still enjoy healthy flowers for a few weeks.
How Long Do Phalaenopsis Orchids Live?
I’m sure if you ask most people this question, they would say a few months. Most people I have spoken to just throw their orchids out once they are finished flowering. And this is fine for most people. Orchids are usually inexpensive and many people just want to enjoy the blooms, without waiting for the plant to rebloom in a number of months time.
However, orchids really are long lived plants. There are reports of domestic orchids that have lived for more than a century, but certainly several decades is more than possible for an attentive grower.
Repotting A Phalaenopsis Orchid
There are two main reasons why a phalaenopsis orchid may need repotted. The first is when the growing media starts to break down and decompose. The second is when the roots outgrow the pot the orchid is growing in. I’ve written an article about repotting phalaenopsis orchids here.
Choosing Your Orchid Pot
Orchids generally prefer to be root constrained, so don’t change to a larger pot than necessary. There are a few things to look for when choosing a pot to put an orchid into.
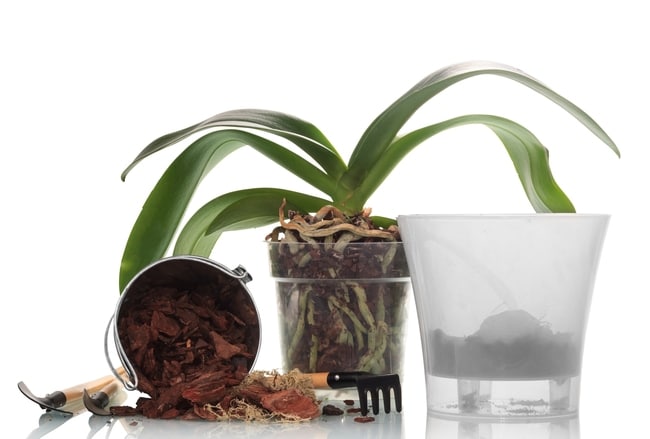
It is a good idea to pick a transparent pot for phalaenopsis orchids. The roots of orchids contribute to photosynthesis and energy generation, so giving the roots access to light enables them to contribute to the overall health and strength of the plant.
Ensure Lots Of Air And Drainage Holes
As the roots gain a lot of moisture and nutrients directly from the air, having plenty of ventilation and drainage holes will enable good air circulation to the roots of your orchid.
Many people pick a transparent plastic pot with good ventilation for their orchids, but then place the plastic pot into a more aesthetically pleasing pot for display purposes. I think this is a good compromise, although it is generally a good idea to give the roots better access to light at some time.
I normally put my orchids on display in my house in decorative ceramic pots, but once they finish flowering, I put them in another room, just in the plastic pot, on a drip tray. This allows the roots plenty of access to light and air at the more crucial vegetative stage.
Choice Of Potting Media For Phalaenopsis Orchids
It is generally unwise to pot an orchid into regular potting compost or soil. The likelihood is the roots will have insufficient access to air and light and will get excessive water, leading to an unhealthy plant.
The most common growing media to use is a tree bark based mix, although any fast draining medium could be a viable alternative. I have seen orchids being grown successfully in perlite, expanded clay, peat, bark, sphagnum moss and various mixed media. As long as you adapt to the characteristics of your chosen growing media, you can have good success.
I normally use bark chip based media for most of my orchids as it is what I have had most success with and have the greatest familiarity.
Pruning Roots Prior To Repotting
It is good practice to assess the roots when you are repotting. Any roots that appear damaged or unhealthy can be removed either manually, or with a sharp and clean pair of garden shears.
Don’t be too worried about removing unhealthy roots. The plant will thrive much better with a smaller volume of healthy roots, than a larger volume of roots with a diseased or unhealthy section.
Conclusion
I’ve got loads more awesome information about phalaenopsis orchids on this website. If you want to learn more, why not check out some of these articles.
- How To Make Phalaenopsis Orchids Rebloom
- 15 Amazing Phalaenopsis Orchid Facts
- How To
Repot Phalaenopsis Orchids - How To Water Phalaenopsis Orchids
- How Long Do Orchids Bloom?
- Why Are The Leaves On My Orchid Turning Yellow?
- Why Are The Leaves On My Orchid Wrinkled?
- How To Stake An Orchid (With Pictures)
- Should You Mist Orchids? Do This Instead!
- Can Orchid Air Roots Be Trimmed?
- Are Orchids Good Gifts?
- Do You Trim Orchid Stems?
- Why Do Orchids Have Green Roots?
- How To Fertilize Phalaenopsis Orchids
- How Much Light Do Phalaenopsis Orchids Need?